HOW TO PAINT A WALL WITH CERVUS WALL BRUSHES
17 March 2022
We want to talk about how to paint a wall with a brush, in particular we deal with what concerns the painting of an internal wall, a situation that requires precision and particular techniques in order to obtain a good result, as close as possible to professional quality.
WHITENING AN INTERIOR WALL: WHICH BRUSH TO CHOOSE?
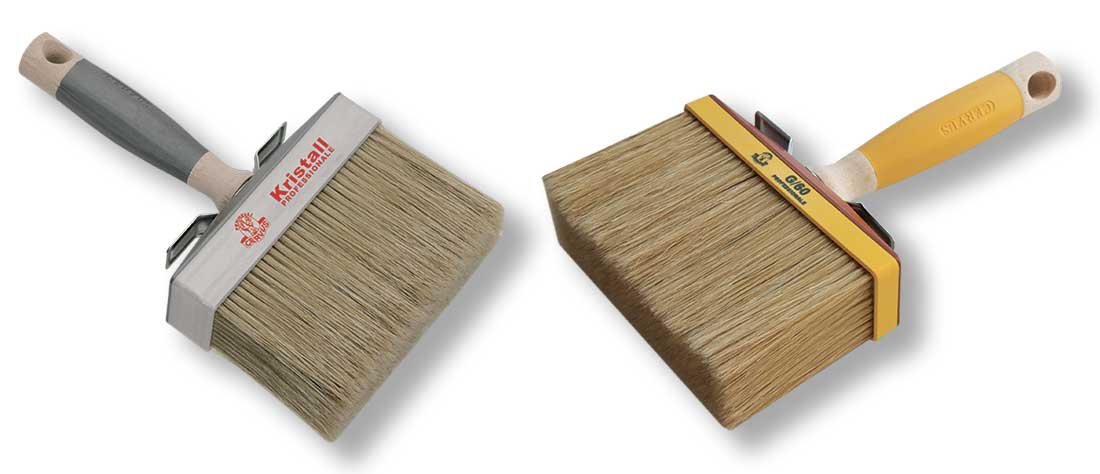
Let's start by choosing the most suitable brush to use in the most common case, that is, the one in which a breathable paint is used. For a wall where it is not difficult to reach or sensitive situations, we will use a ceiling such as Kristall in pure natural bristle or G/60 mixed natural / synthetic, because both guarantee good hold and color release.
The basic principle is that natural bristle or mixed bristle brushes are perfect for applying fluid products such as interior paints.
The natural bristle of Cervus paint brushes has properties of absorption and gradual release unmatched compared to even advanced synthetic bristles, this happens thanks to the "feathered" effect that characterizes the natural brush in the initial part of the filament, the one that first comes into contact with color. This part of the filament determines the maximum performance of the tool when it is new.
It follows that the use of a new natural bristle ceiling or in the initial period of its life cycle, will give us the great advantage of having an optimal yield and saving half the effort.
An excellent alternative to natural bristle or mixed bristle is our Evo 61 series, the latest generation synthetic brush.
Evo 61 is made up of a "plumed" synthetic filament which, compared to animal bristle, has particular characteristics: the mechanical process to which it is subjected makes it rougher and more absorbent than the usual chemically treated synthetic filament, which makes the thread too smooth and slippery , losing the peculiarities of adequately retaining the painting.
Thanks to this process, the Evo 61 series brushes are able to equalize the exclusive usability of the natural bristle, combined with the greater durability typical of synthetic brushes in general.

THE PREPARATION OF BRUSHES AND COLOR
If the ceiling light we are about to use is new, the expert advice says to let it soak in water for a few hours, or overnight, before using it. This very simple trick will give us the double advantage of
-
eliminate in advance any weak filaments that come off during the first use
-
prepare the new filaments for the absorption and release of the fluid, avoiding the initial adaptation curve, which causes an inconstant and annoying behavior of the brush before its stabilization
In any case, even if the brush we are about to use is not just removed from the package, it is always advisable to moisten our tool before dipping it in the color and starting to whiten the wall.
When preparing the color, in most cases it will be a breathable interior paint, the issue of dilution is important. This must be balanced in such a way as not to be too liquid, causing a poor covering effect, nor too dense, in which case the color would not be able to fill all the small interstices and micro-holes that the wall will easily have along the surface.
WHITENING A WALL WITH A BRUSH: LET'S GO
Once our wall is ready to be painted, having previously carried out the preparation of the wall, that we are equipped with a suitable ceiling and that our color is suitably diluted and mixed, we begin with the painting.
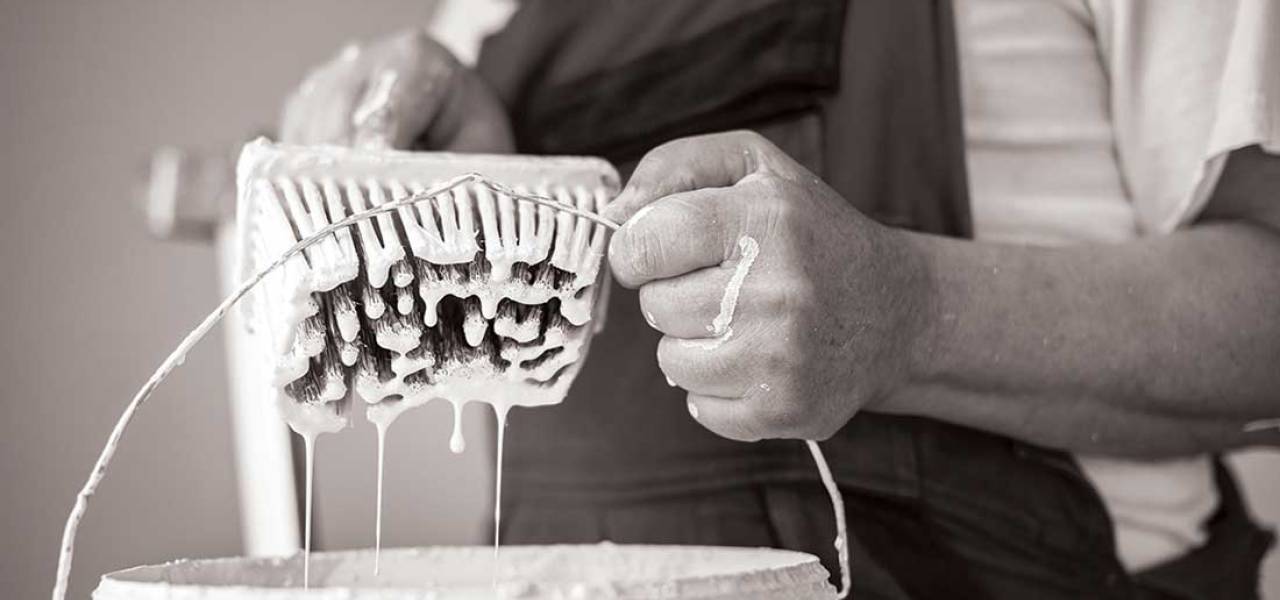
To be comfortable in this operation it is advisable to use a typical 20 liter bucket filled about halfway with the diluted color. At this point the brush is dipped for 2-3 cm, no more, because the natural bristle has a higher absorption than the synthetic one, therefore the color will rise along the filaments.
Once the brush has been dipped, it is discharged with one or two taps on the edge of the bucket, a trick that limits the problem of dripping, and we start with the application of the color.
It is very important to put yourself in the order of ideas to keep the right timing once you start painting. In fact, having a constant and pressing pace as much as possible will allow us to obtain a satisfactory result in terms of uniformity and efficiency.
Another fundamental theme consists in understanding how to direct the brush strokes and therefore be masters of the effect resulting from the use of our brush. The most used technique to whiten a wall with a brush is that of crossed brushstrokes, therefore a series of brushstrokes spread in a horizontal direction will be followed, always and methodically, by another series of brushstrokes in a vertical direction.
This method will guarantee us to have at the end of the work a pleasant effect in the texture that the brush determines on the wall.
THE FINISHES AND THE CORNERS OF THE WALLS
Up to this point we have talked about painting a wall in easy to reach areas, but how to do it in the corners rather than in correspondence with the radiators, window sills, or masks?
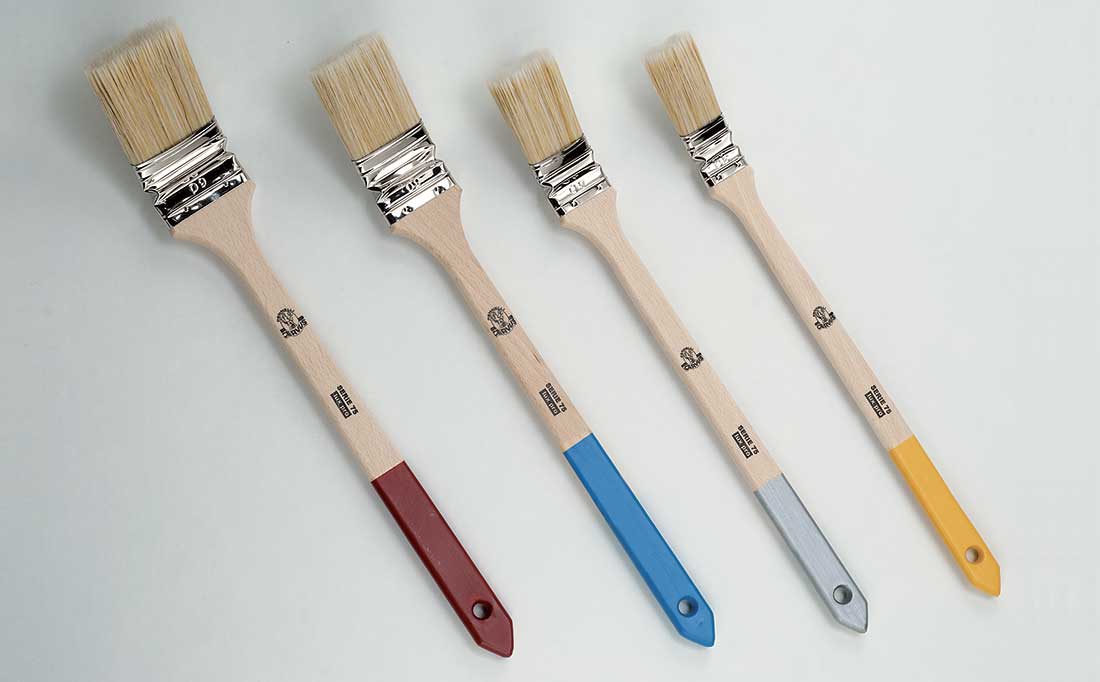
In this case, the classic 3 or 5 cm angled brush helps us, thanks to its folded shape and long handle, it allows us to successfully tackle all these critical points.
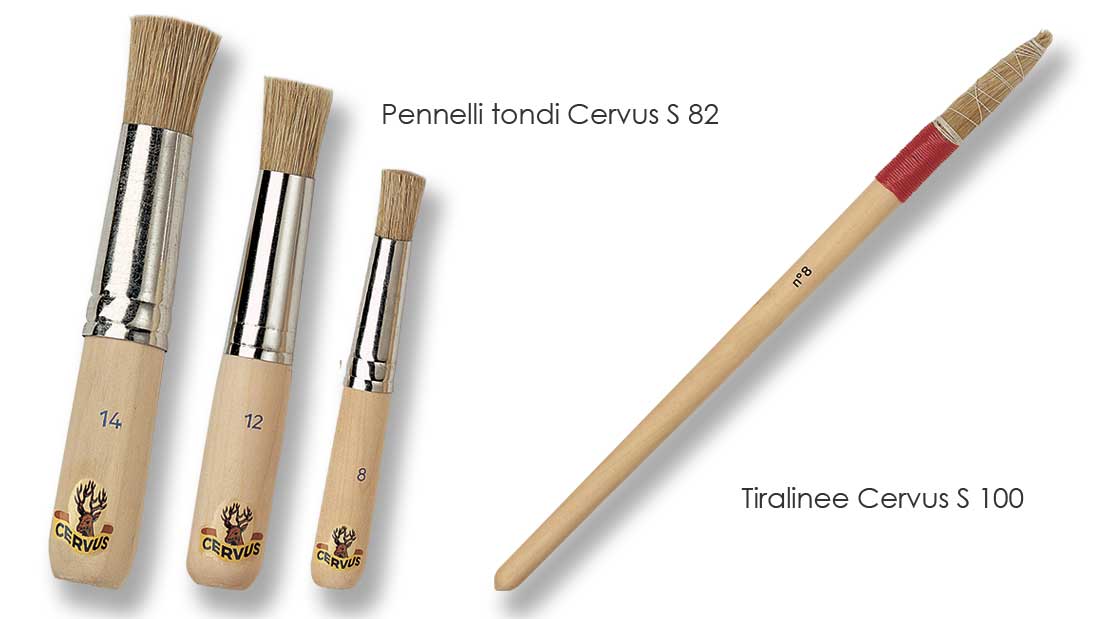
If, on the other hand, we are talking about very sensitive points, perhaps to be done freehand at the limit between two different colors, in this case we should resort to a scriber S/100 .
However, we consider that the use of this tool requires a very safe hand and a professional technique so it will hardly be advisable for the do-it-yourself painter.
DECORATIVE EFFECTS AND STENCIL
In the event that we common occasional painters, who nevertheless want to paint our house well, want to create particular decorative effects, we will need to use the stencil technique, purchasing suitable adhesive masks and using them with a specific stencil brush, such as those of the S/82 , ideal for stamping.
This type of brush should be used by tapping on the previously applied masking with a particularly dense diluted color, keeping it not too full of color to avoid smudging.
HOW TO WHITE THE CEILING
When we have to whitewash the house how to paint the ceiling with a brush?
Whitewashing the ceiling is also the Achilles' heel of professionals, which is why it is necessary to be particularly cautious and, even in this case, to use simple practical methodological tips.
To paint the ceiling, it will be good practice to use a wall brush that is as new and drip-proof as possible, combined with a paint that is not too diluted, so it is a good idea to keep it a little denser than the one we use for vertical walls.
In particular, in this situation which is by its very nature more uncomfortable and difficult, the theme of timing and the right rhythm, decisive and regular over time, combined with the skilful gestures of the Artisan, will guarantee us the best results in terms of coverage, as well as to the maximum containment of drips in the environment and on our clothes.
BRUSH WASHING AND MAINTENANCE
Once you have finished whitewashing a wall, a room or an entire apartment, it will be good practice to wash the brushes with soap and water, shake them and let them dry before storing them in our good home maintenance tool shop.
This simple and punctual operation will guarantee us the good conservation of the brushes until the next occasion of use.